
Ever since I bought my first Hokkaido Cupcake at an asian bakery, my life changed. Since then, I’ve made them countless times, I love this recipe, and I’m here to share it with you!
Hokkaido cupcakes are these light, airy Japanese chiffon cupcakes, typically baked in square cardboard boxes (which I couldn’t find, so I opted for the typical cupcake liners) filled with various types of cream: custard cream, chantilly cream, strawberry cream etc. They’re honestly the perfect cupcake: light and fluffy, not too sweet, not too heavy, and taste light and delicate. I’ll admit, they’re not the most attractive of cupcakes, but they’re so delicious and I could probably easily eat 5. I hope you enjoy them as much as I do!
Ingredients
- 2 cups of cake flour
- 1 cup of caster sugar
- 1 tbsp baking powder
- 1/2 tsp salt
- 1 cup of milk
- 1/2 cup vegetable oil
- 1/2 tsp vanilla extract
- 5 egg yolks
- 8 egg whites
- 1/2 tsp cream of tartar/lemon juice/vinegar
- 2 cups heavy cream (or whipping cream
- 1/4 cup powdered sugar
- 1/2 tsp vanilla extract
Method
- Ensure all the ingredients at room temperature* and preheat the oven to 175°C/350°F.
- Sift the cake flour, baking powder and salt into a large mixing bowl.*
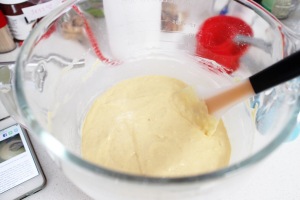
- In a medium bowl, blend milk, oil, vanilla and the egg yolks until smooth.
- Add the egg yolk mixture to the flour and whisk until smooth.
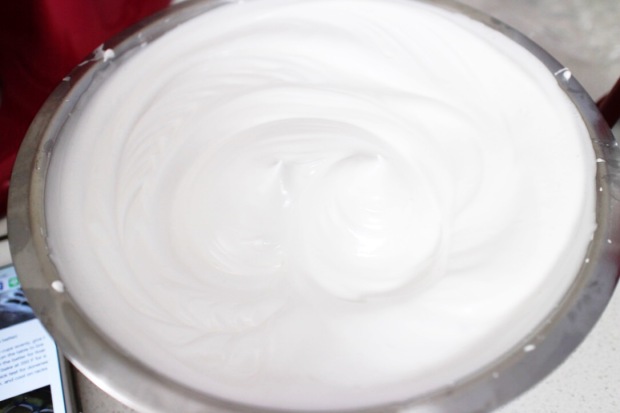
- Beat the egg whites* with cream of tartar/lemon juice/vinegar on low speed until it starts to foam, and slowly increase speed. Once it gets really white and foamy, gradually add in sugar and beat until stiff peaks form.
- Fold 1/3 of the whipped egg whites into the other mixture until just combined with a spatula. Repeat with the other thirds of the egg whites, ensuring not to overmix.
- Spoon into cupcake cups evenly* (about 3/4 full) and tap on the table a couple of times.
- Bake at 175°C/350°F for 20 minutes, or until a toothpick inserted comes out clean. Let them cool completely on a wire rack.*

For the chantilly cream
- Whip heavy cream and powdered sugar on a low speed, and gradually increase speed until soft peaks form. Add in vanilla (I always add a whole heap of my vanilla paste) and whip until stiff peaks form.
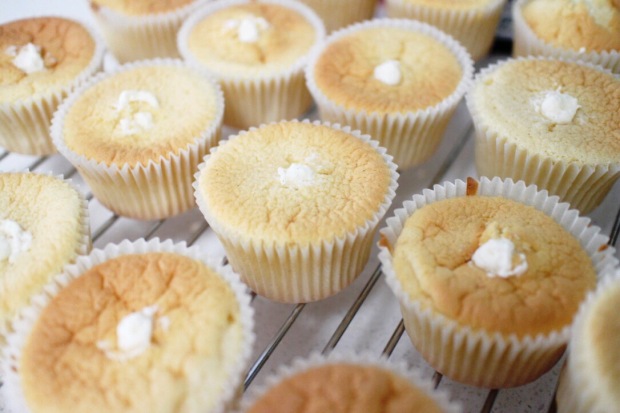
- Once cupcakes are cooled, use a filling tip and a piping tip (I use Wilton’s Bismarck tip) to poke a hole in the middle of the cupcake and fill it until it feels quite heavy (the amount of cream you fill it with depends on your preference, I like them really full!)
Notes*
- Having all of the ingredients at room temperature is imperative. I like to separate my eggs and place my egg whites into the fridge while I let the rest of my ingredients come to room temperature.
- When I say large bowl, I mean LARGE. I use my KitchenAid stand mixer’s glass bowl (4.7L/5 quart), and it gets almost full (it’s a very airy mixture), just as a guidline.
- Make sure the egg whites have been cooling in a metal bowl, it helps the egg whites whip up better and stay stiff.
- When I use these cupcake liners, I get about 35 cupcakes, or the one time I got 24 + 12 mini + a short, 6 inch cake.
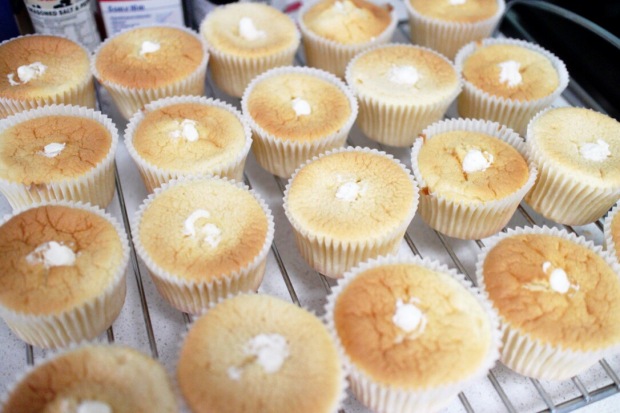
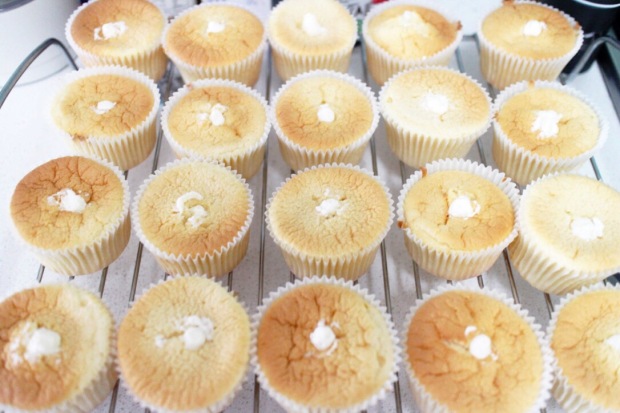
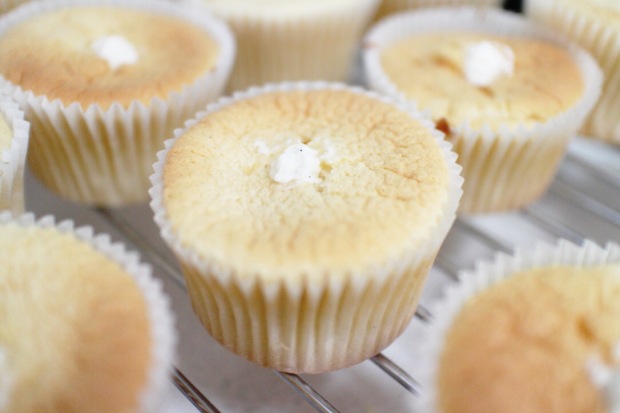
- They will shrivel up and sink, so don’t worry if they do! You’re just gonna puff those babies up again with whipped cream!
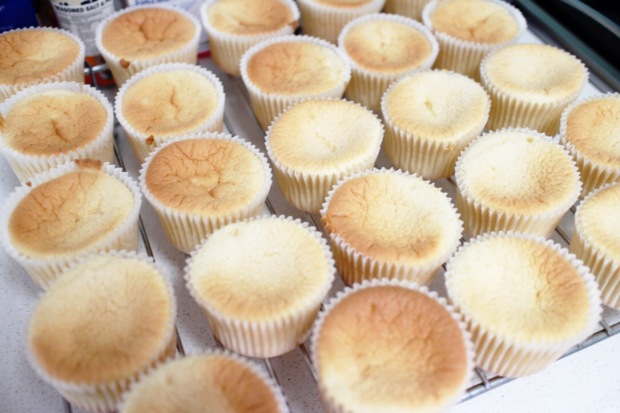
As you can see they sink quite a bit in the centre, but they puff right back up when you fill them with cream!
I really hope you liked this recipe, it’s one of my favourite cupcakes ever! If you recreate it, do share and tag me on any of my social medias (in the sidebar), I’d love to see them! I know there’s been a lot of food posts, but I heard quite a few of you really like them, so I thought I’d continue posting them! (Also, it’s probably the only thing I can do with me being so busy!) I also have an exciting collab coming up soon, so keep your eyes peeled for that!
Other than that, I hope you’re having a lovely day wherever you are! (:
– Jess xx
Twitter: @amessofjessblog
Instagram: @amessofjessblog
Pinterest: @amessofjess
